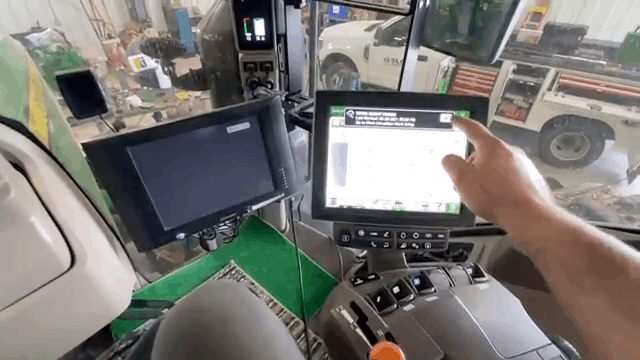
Hey , In today’s video we got an 8370r that will not come out of park. What do you guys think it is so the customer called us to come out to the field to look at this tractor.
John Deere 8370R IVT will not come out of park or calibrate.
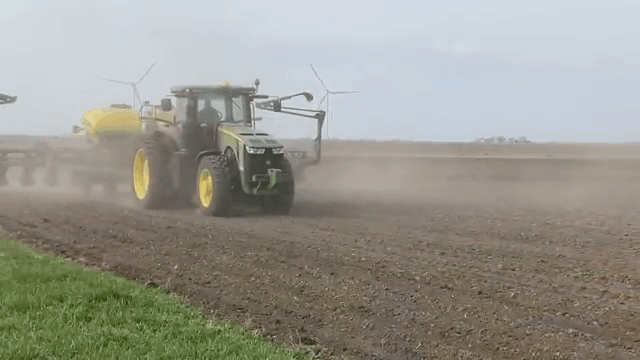
It was pulling an auger cart and it was broke down in the middle of cornfield. He said that the tractor wouldn’t come out of park. He said when he tried to put it out of park that it would say that the transmission was calibrating calibrating process and he said it would never finish this calibration. So looking at the tractor I came out there. I tried to do a force calibration. It wouldn’t try, it wouldn’t do anything. The address that I changed would always stay at a one, and I couldn’t get this tractor to calibrate. So we started checking pressures and whenever I checked system two pressure, it was six psi and it’s supposed to be 270 psi. So at this point I knew I had a major leak inside the transmission, but I didn’t have the tooling with me out in the field to get the job done to figure out, you know what was causing the major leak, which I knew it was most likely the hydro with the codes it was setting. So we went ahead and hauled them. Another tractor put this one on a trailer brought it back here. I posted push it into the shop. I got the tool that I needed to be able to block off a port, to check and see if the hydro was the cause of the leak and, of course, when I installed the tool and started it up. My pressure for system 2 went right where it needed to be so. I know the hydro is bad in this transmission. There’s also a fixes fail planetary, bearing pip on this transmission as well, which is, which is what we’re gonna do um, so ordered a hydro for it, and the pip kit for the bearing and now we’re going to work on pulling the transmission out.
I’ve already got started on it, and hopefully we can get this thing out today, all right so so far we got the batteries removed. All the electrical connections undone off the back side of the transmission, we got this harness all pulled down. Alternator removed this entire accessory bracket, we’re going to put a tool on here. That’s going to lift this up. We got to put some stands underneath here, so we can separate these bolts and then we’re going to roll this whole entire engine assembly forward. Um took the drive shafts apart on both sides. Um, I got some drain pans underneath we’re draining the oil on it um. I had to drain the coolant because we’ve got some a couple heater core lines back here I had to undo had to discharge air conditioning, so we had to take the ac lines apart right there, so I had to take the exhaust pipe off on the other side and I’ll show you that so we took the exhaust off here: discharge air conditioning with the service ports here, an ac machine undead, the coupler for the input, shaft and we’ll eventually take these off.
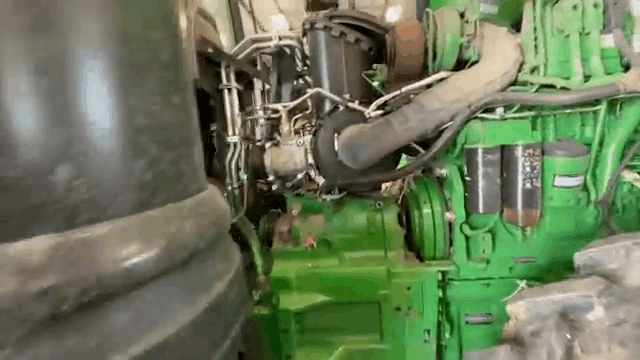
But I’m going to go ahead and work underneath the the transmission. Try to get all the drive shafts and the hydraulic lines, undone and then I’ll undo these lube lines because I don’t want them dripping down on me, while I’m underneath and then we’ll install the stands and then we’ll split this tractor okay, so we got stand installed comes back attaches here, got the rear stand in place, got the accessory drive lifted up. You can see that tool better.
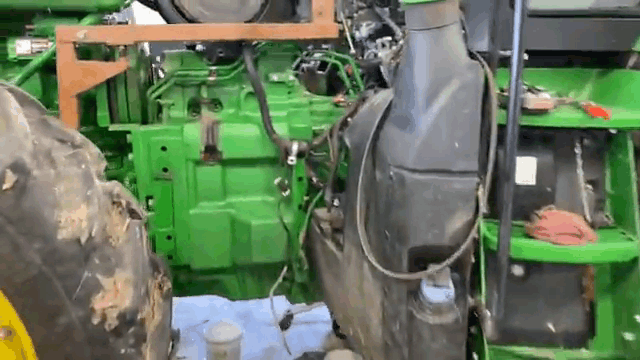
So now all we got to do is take out these bolts here and split the tractor. Hopefully she comes apart. The way I want it to. I want to try to get this separated, so this piece doesn’t drop down or this piece raise up. I want it to just come apart straight, so whenever we go back together, it’ll be a lot easier, so I’ve got everything unhooked from the back side of the transmission drive shafts all the hydraulic lines, the electrical everything’s undone so now. All I do is get these bolts undone and try to get this thing rolled apart. All right, so there she is tractor is split. I got this tool on there. It’s going to allow us to pick this thing up with a forklift, and now we just got to get the bolts undone from the frame, so we can pull this transmission this way and then we’ll turn it and bring it straight out. This direction, all right, fellers, there’s an ivt.
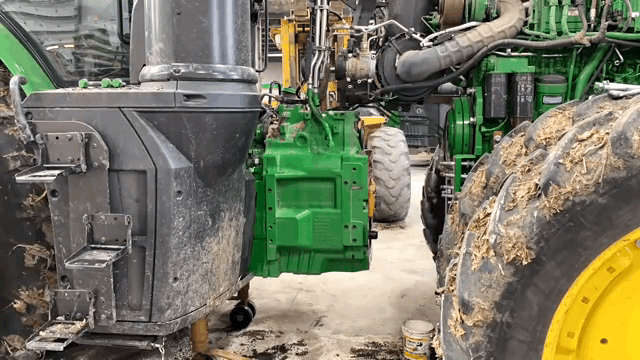
Now we just need to get all the schmoo cleaned off of this get plugs and all the ports. We don’t want water in I’m, going to take this to the wash bay and clean this off real good and then we’ll bring it back in and we’re going to hang this thing on a stand all right, so we got the transmission cleaned up got to put on a stand now we’re going to start the tear down process, so
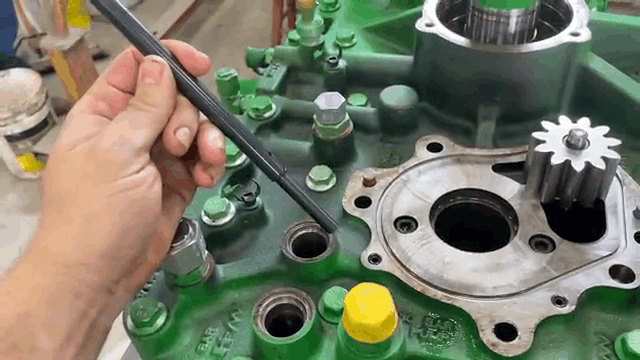
so you can see in the time lapse that we pulled this guy out instead of the screen that was in here, and that is what I took out and I installed this special tool to go down in this hole and block off that port, so we could figure out if the hydra was the source of leakage or not so now, okay, the manifold is off. Now we got to get this rear cover off here this big piece: it’s a real heavy piece and usually it’s stuck pretty good. You gotta use these pry points to try to separate it all right.
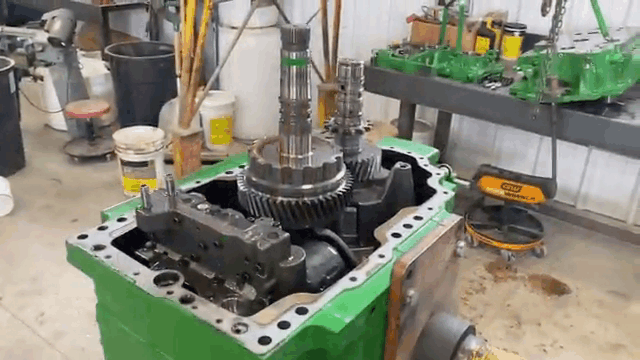
So we got that cover off and I looked down in here and I seen metal chunks and look. What we got here are pieces from the hydro from the piston. Let’s say we found our problem, I’m sure there’s more down in there, but this is all I could dig out at the moment severe amount of metal poopies in this thing. So now we’re gonna work on pulling all this jazz out of there. Now we’re going to take this retaining ring off all right now, we’re just going to pick up on this shaft just enough to get this. These uh snap rings off now. We’ve got the snap ring off, remove the gear now that we’ve got the housing out of the way we can go ahead and remove the clutch assembly out of the carrier.
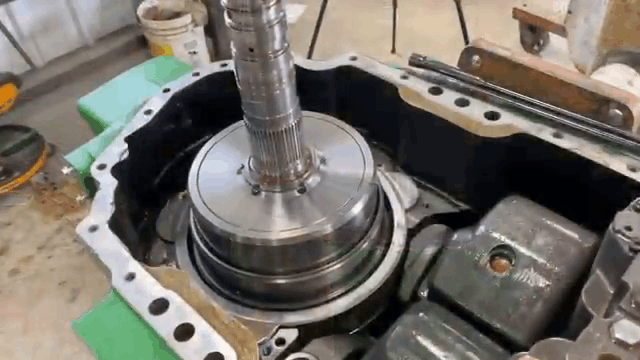
Now remove the sun drive shaft. Now we’re going to remove the carrier, I decided to remove the spring, so they didn’t fall down now we got the down to the ring gear. We took this snap ring off we’re gonna pull this ring gear out all right, so we got the ring gear out and it was stuck because there was a lip on this snap ring groove here and about never got it out. Here’s the ring here! So all that’s left is the hydro, and this is the hydra here. This one unit and what’s broken, are these pistons down in here, I’m not sure which side’s broken, but once we get this lifted out of there we’ll take a good look at it. You can see this is messing here. It’s supposed to look like these rotate. This around see it’s kind of scarred up. Oh there’s, a nasty little battle mound that one’s about ready to come out the other side.
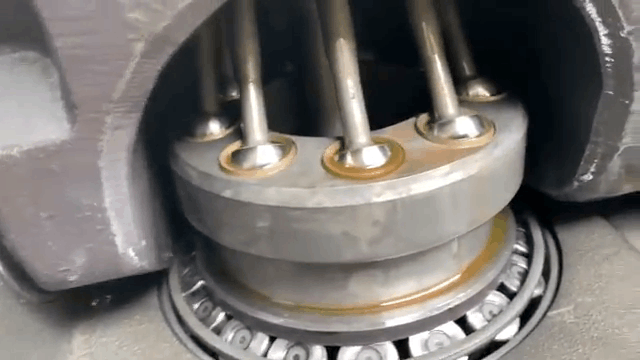
This side don’t look too bad, so we’re taking this nut off and the cu idler here all right now, we’ve got the transmission flipped over we’re gonna work on getting this front cover off, get this piece off and then we’ll be able to check some more gears and the synchronizer in this front cover I got that cover off got all the bolts out now we just need to take this nut off and then we can pull this cover. Okay, so we got the front cover off, got it tipped up there. So I wanted to take a good look at the gear inside of it and then here we’re going to work on taking this synchro out of here. Inspect it we’ll let the syncro off what you want to look for is cracking in these little guys, usually when these fail.
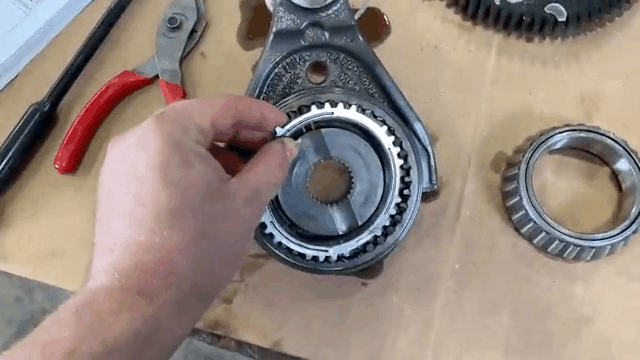
This, these little pieces in here with the spring will break and be cracked in half, but everything seems to be in good condition on this. One okay, guys after we inspected this transmission a little further. I found that metal has just went through all the gears on the front side of the transmission. So, instead of trying to find all the individual parts and rebuild this transmission piece by piece which would take forever we’re going to go ahead and just put a remand transmission in this tractor I’ll show you guys some pictures here so you can see what I found and then we’re going to put this transmission back together, so we can send it off as a core and hopefully our new riemann transmission will be here soon. So
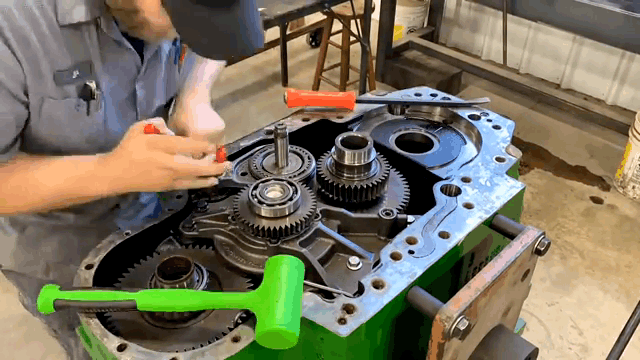
so so. Well, we got the new transmission in had a it came with a new harness, but I took that off we’re going to reuse the old harness and I had cut all zip ties. So I pre-zip tied it. So I’m not fighting that, while I’m under the tractor so we’re gonna slam this guy in this morning got her in transmission.
Is installed, got all the bolts secured. We still have to torque them, but uh I got another call. So we’re gonna have to put pause on this for now, so um we’ll be back all right. Six hours later I had to haul this guy back on a semi trailer customer was saying that it was making a popping and a cracking noise on the right-hand side, and sometimes it wouldn’t move and uh. I went out and looked at it and I knew it was probably a final drive. But on this side I could see that the pinion was leaking and then I had to move back and forth, and this pinion chapter here we’re just walking back and forth and uh. We had a heck of a time getting this thing on the trailer and I’m pretty sure we smoked the rest of the teeth on the ring gear in the final drive. Just getting this thing on and off, we actually had to use the auger carton tractor hooking up a chain to pull this thing onto a detached trailer, and then we hauled it back.
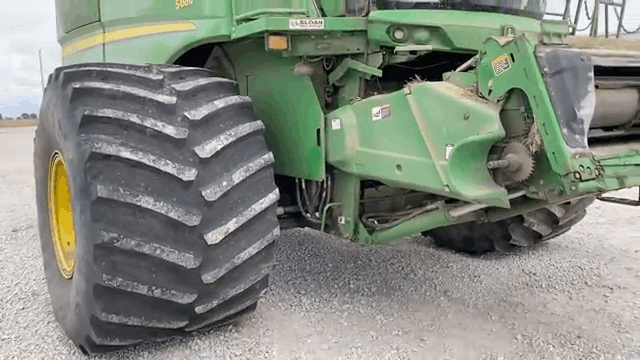
I had an escort all the way back which took like another hour, and now I got the combine off the the trailer we got. Parts ordered for it and we’re just gonna put a pin in this one and revisit that later. So, let’s get back to the transmission, all right got the snap on three-quarter attack angle, so 361 foot-pounds so the trans is bolted.
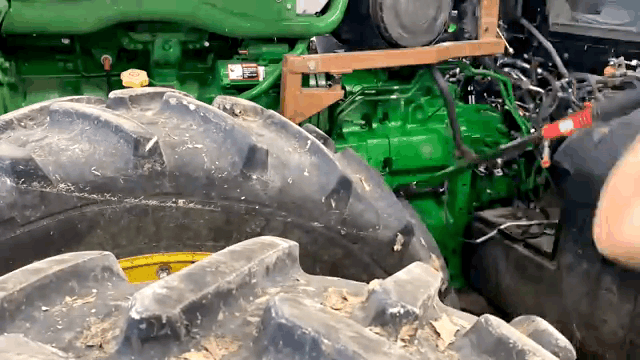
All together got the all the bolts torqued. Now we got to lower this accessory drive down and connect all that stuff should only take. I don’t know six hours all right there. It is got everything hooked up on the back of the transmission. Everything on the side here and the left side got the exhaust hooked up all the accessory drives back together with the belt on. I just got to put the three-point hitch hook mount here and we need to put oil fill this thing full of oil. Get it started um. I gotta lift manually, lift the ils up, so I can get this stand out of here and then we’ll be putting the hood back on. Okay, we mostly got everything. Buttoned up got the hydraulic oil where it needs to be. The only thing I really have left to do is uh.

Take it out and drive it recheck it for leaks and then we’re gonna put the front weights on and the front fenders on and the shields on the bottom that I’ll let that stuff off. Because I want to be able to check for leaks, so here’s the first time this thing’s moved and we’re moving and she’s running. We got a lot of water got a lot of rain, so harvest is not on pause. Right now allows us to get some of the shop projects done, but everything seems to be working, fine, running, smooth, get the weight stacked on, and then we can put the fenders on all right. We’re going to take this thing out on the road running through the faces took off pretty good, didn’t it yeah, it did everything’s running good.
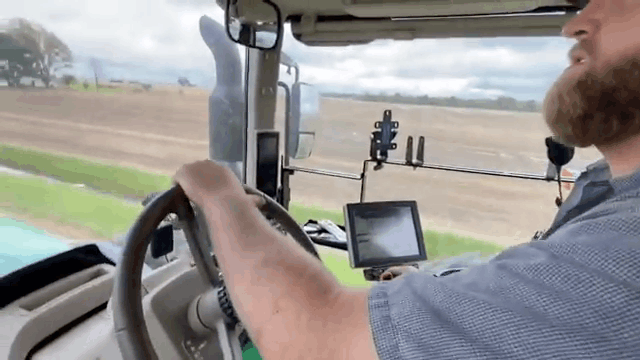
We ain’t got no leaks, put the fenders on top that off with oil put the weights on the only thing. That’s left off. This tractor is the bottom shield on the transmission. I’m gonna check it again for leaks once we drive it and get it good and hot all right now that we got the oil all circulated and everything we’re going to go ahead and change the hydraulic filter.
So we got a filter on this tractor to filter all the hydraulics and transmission walls, so we’re going to go ahead and change this out, and then fill up, and then we’re going to finish this tractor, okay, that’s enough.
Leave a Reply